“`html
How to Connect Meta Quest 2 to TV: Essential Tips for Seamless Streaming in 2025

Understanding Meta Quest 2 Setup for Television
Connecting your Meta Quest 2 to TV can enhance your virtual reality experience, making it easy to share gameplay with family and friends. In this section, we will explore the essentials of the Meta Quest 2 setup for TV connections, discussing compatibility, necessary equipment, and basic configurations. Whether you’re using it for VR gaming on TV or showcasing an immersive VR experience, setting it up correctly is crucial for seamless operation.
Meta Quest 2 Compatibility with Smart TVs
Before starting any kind of connection, it’s vital to understand Meta Quest 2 compatibility with various TV models. Most smart TVs that support Miracast or Chromecast will have no issues connecting with the Meta Quest 2. Ensure that your TV has the necessary features that allow for wireless streaming. For example, models from brands like Samsung, LG, and Sony often include options to easily wirelessly display your VR content. Consult your TV’s manual to explore what’s available in its settings related to screen mirroring setup.
Essential Gear for Meta Quest 2 TV Connection
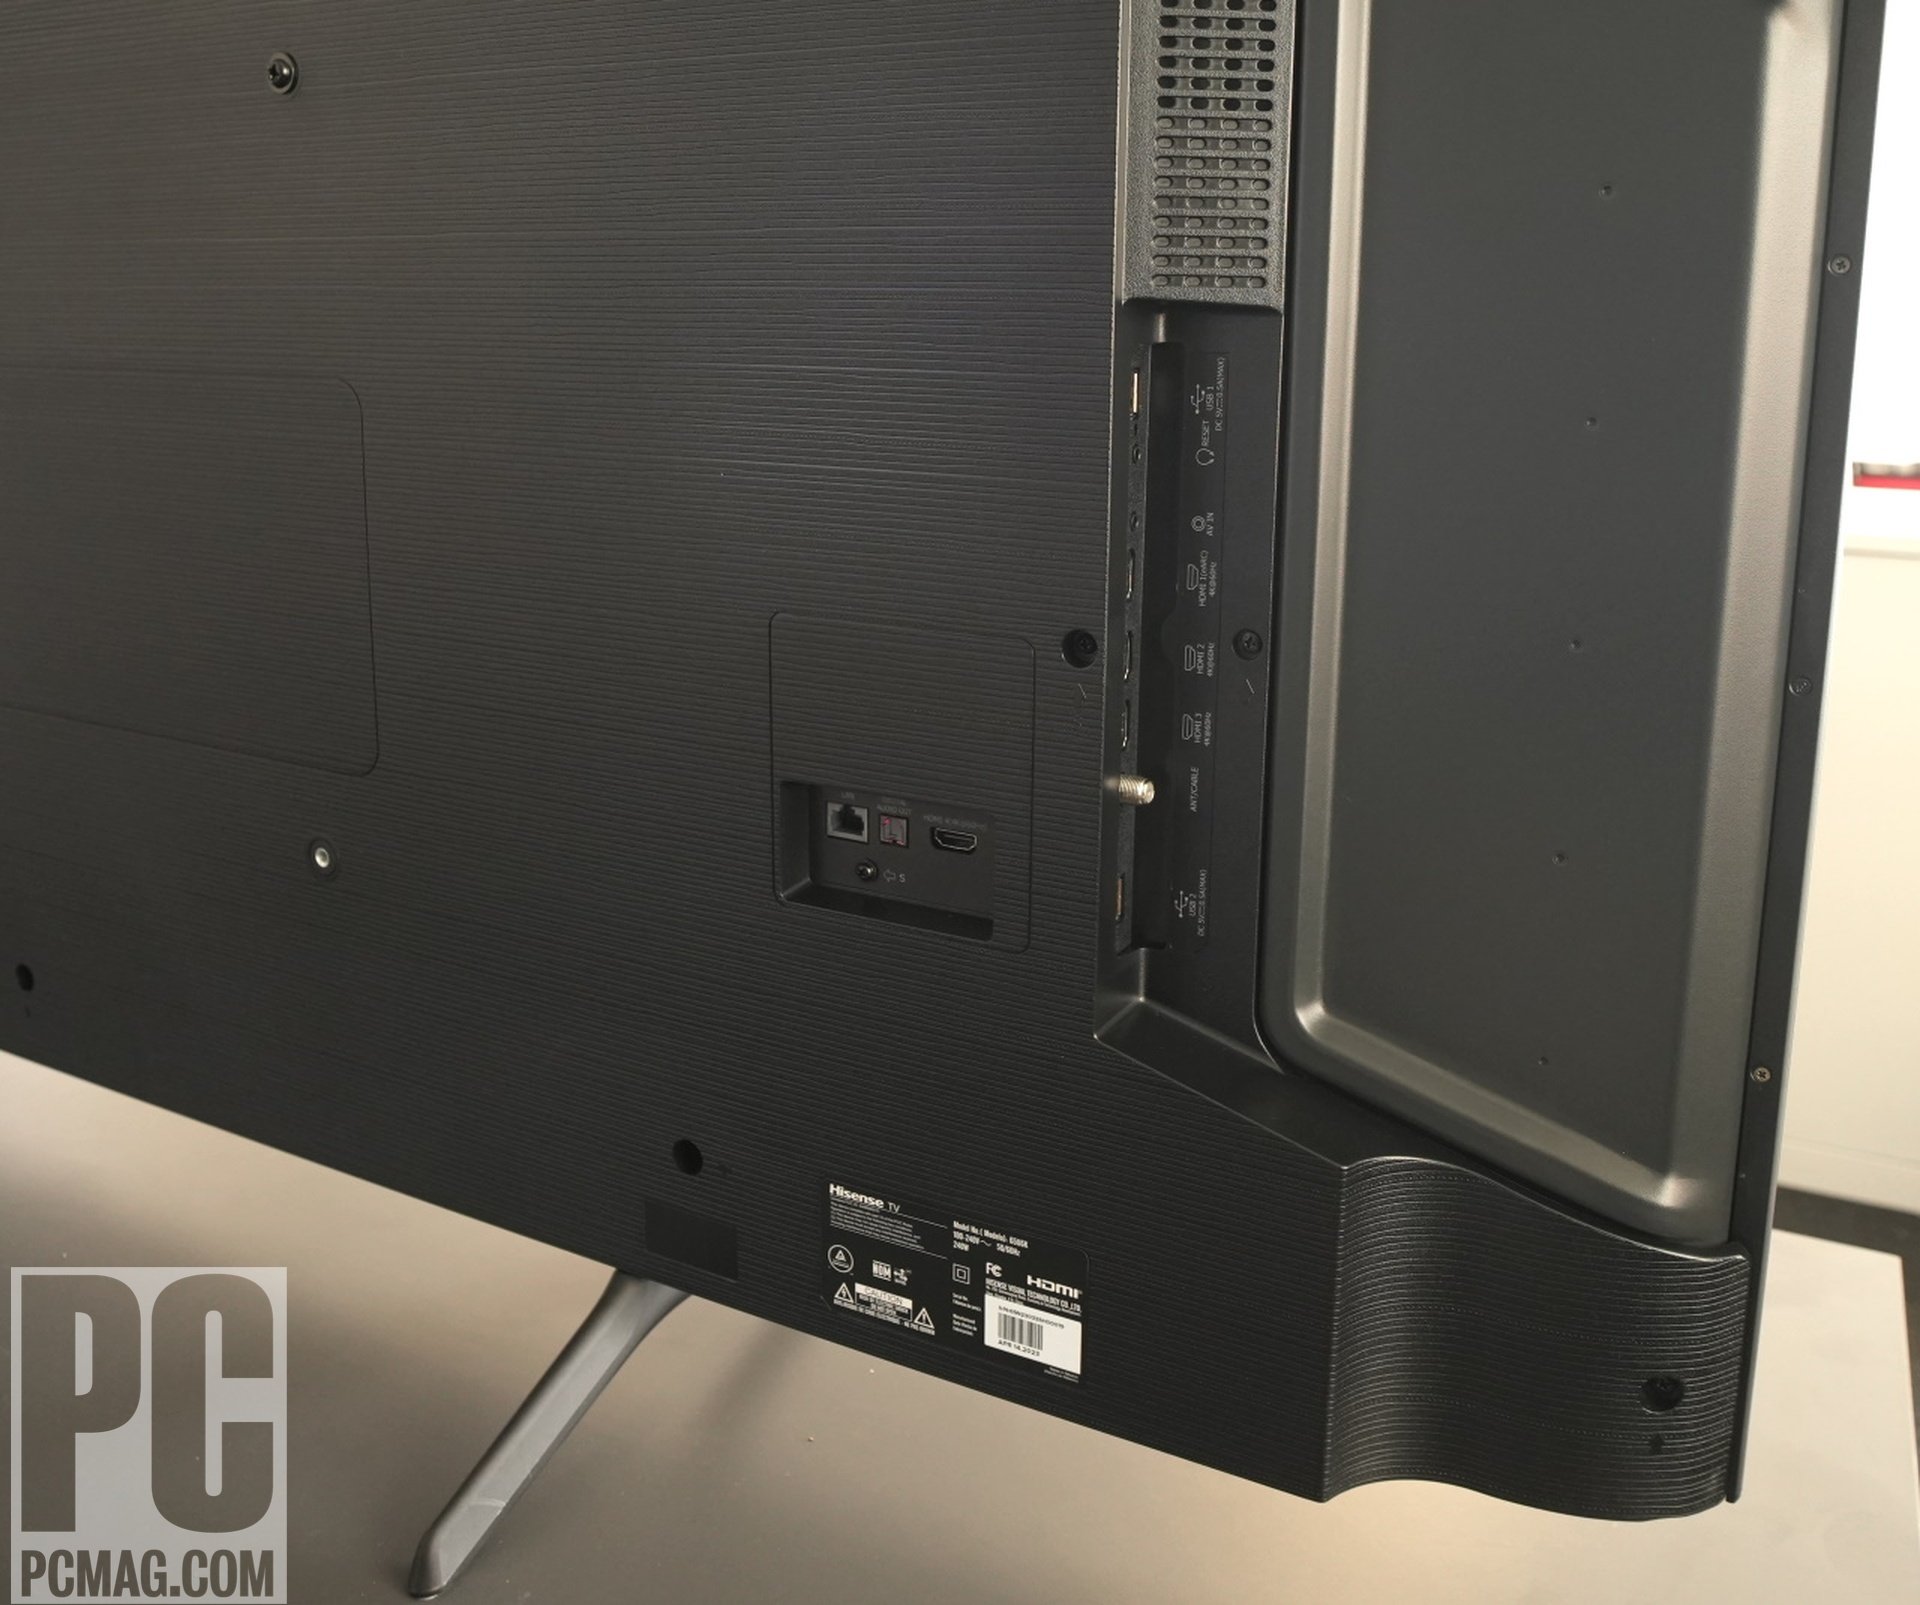
For a successful connection, you will need a few items. Make sure you have a positive internet connection if opting for wireless methods like Meta Quest 2 screen mirroring. If you are considering a Meta Quest 2 HDMI setup, an HDMI cable is necessary to link the VR headset to the TV directly. This can sometimes allow for a stronger and more stable connection over Wi-Fi streaming methods. Many streamers prefer wired setups for playing graphically demanding games to avoid lag.
Basic Troubleshooting Techniques
Issues can arise when trying to connect your Meta Quest 2 to TV. Common problems include connectivity failures, lag in streaming, or distorted images. Make sure both the headset and the TV are updated to the latest software versions. Check the network settings and reset your router if necessary. Troubleshooting Meta Quest 2 connection issues often involves ensuring that the headset is powered and has access to your home Wi-Fi network as well.
Streaming Meta Quest 2 Content: Detailed Steps
Now that we’ve covered the essentials of setting up your Meta Quest 2, let’s dive into the practical steps for streaming Meta Quest 2 content to your television. This will guide you through procedures needed to establish a solid VR headset connection for a flawless experience, whether you choose wireless methods or prefer using HDMI. Each method will have its advantages and we’ll explore those as well.
Using Chromecast for Meta Quest 2 Streaming
If you’re looking to enable Meta Quest 2 wireless streaming, using a Chromecast might be your best option. Begin by downloading the Google Home app on your mobile device. Ensure your Chromecast and Meta Quest 2 are connected to the same Wi-Fi network. Open the app, select your Chromecast, and choose “Cast my screen.” Within the Meta Quest 2 interface, navigate to the sharing settings and select “Cast,” which should mirror your VR experience directly to your TV. This easy step allows multiple viewers to engage with your VR content.
HDMI Connection Method for a Direct Link
If you opt for a more straightforward Meta Quest 2 HDMI setup, follow these simple steps. First, connect an HDMI cable from your Meta Quest 2 output to the available HDMI port on your TV. Then, switch your TV to the right HDMI channel and power on the headset. This method eliminates lag that may occur in wireless setups, providing a more immersive experience and higher-quality visuals. Furthermore, ensure that audio settings are checked to follow suit with the new display configuration.
Optimizing Display Settings for Meta Quest 2
An important aspect after establishing your connection is to optimize display settings for the best possible viewing experience. Navigate to the display settings on your Meta Quest 2 and make adjustments according to your TV type and preferences. This includes checking resolution settings, refresh rates, and sound options. Take advantage of any built-in settings on your smart TV to enhance visual clarity and adjust for specific needs depending on the genre of games you play, be it adventure or action.
Advanced Connection Methods for Enhanced Streaming
For the tech-savvy users or those seeking more options, there are advanced methods to connect your Meta Quest 2 to TV. These techniques can help in providing a unique solution tailored to your specific setup, whether that’s integrating with a comprehensive home theater system or using other technologies available at your disposal.
Using Miracast for Screen Mirroring
If you prefer a wireless method aside from Chromecast, you can utilize Miracast. This technology is available on many modern TVs. Search for the ‘Cast’ option in the settings and select your TV, which will start the mirroring process. Ensure your Meta Quest 2 has hotkeys or shortcuts to quickly toggle casting. Having this simple option enables you to toggle display without needing to delve into Settings every time you want to share your VR live-session.
Connecting to Projectors or Additional Displays
If you’re looking to take your VR experience on the bigger screen, consider connecting Quest 2 to projector or using a secondary display. Ensure the projector supports HDMI and is of high enough resolution for quality VR compatibility. This also matters when achieving expansive gaming setups for multiplayer sessions. With good resolution maintained, the expansive area paired with the virtual elements amplifies the overall environment of VR experiences.
LAN Setup and Multi-Display Connections
For high-speed streaming, consider using a LAN cable and a compatible router to keep your internet connection stable. This setup will significantly enhance your experience, enabling wireless mirrors of the Meta Quest 2 while avoiding much of the lag that comes from wireless connections over standard Wi-Fi. Multi-display connections can also elevate the viewing with synchronized displays, convenient for watching multiplayer sessions or VR meetings, making it altogether a robust solution.
Key Takeaways
- Explore compatibility options with various TVs for an optimal Meta Quest 2 screen sharing experience.
- Choose between casting methods, HDMI, or using Chromecast for different immersion needs.
- Optimize and regularly adjust settings based on specific preferences for varying gaming genres.
- Utilize advanced connection methods for a cutting-edge viewing experience.
- Always keep your Meta Quest 2 software updated for seamless connectivity.
FAQ
1. What do I need to connect Meta Quest 2 to TV?
To connect your Meta Quest 2 to a TV, you’ll primarily need a compatible TV, an internet connection for wireless options, and HDMI cables if opting for a wired approach. Ensure that both devices can communicate either through casting applications like Chromecast or through an HDMI cable for a direct visual link.
2. How do I enable screen mirroring on Meta Quest 2?
To enable Meta Quest 2 screen mirroring, navigate to the sharing settings on your headset. From there, select “Cast” which will search for compatible devices nearby such as your TV. Ensure both devices are on the same Wi-Fi to establish a connection quickly and seamlessly.
3. Can I use Meta Quest 2 with non-smart TVs?
Yes, you can connect Meta Quest 2 to non-smart TVs using an HDMI connection. This direct setup allows outdated TVs to work for VR experiences despite not having advanced smart features like screen mirroring without extra devices.
4. What troubleshooting steps should I take if my Meta Quest 2 is not connecting to my TV?
If you encounter connectivity issues, first double-check the HDMI or casting settings. Ensure both the headset and TV are on the same network if using wireless methods. Restart your devices or reset your router if the issues persist. Also, consult your device documentation for specific troubleshooting guides.
5. Are there any recommended settings for VR gameplay on TV?
When playing VR games through your Meta Quest 2 on the TV, optimizing your resolution and sound settings is important. Adjust based on the type of content—lower resolutions can be suitable for smoother performance, while higher for cinematic presentations—ensuring the best overall experience.
“`