Effective Ways to Clean Your Dryer Vent Duct in 2025 for Safer Home Use
Keeping your home safe and enhancing the efficiency of your dryer involves one crucial maintenance task: regularly cleaning your dryer vent duct. In this article, we will explore various **dryer vent cleaning tips**, the **importance of dryer vent cleaning**, and the methods you can use to ensure your dryer operates safely and efficiently.
The Importance of Cleaning Dryer Vents
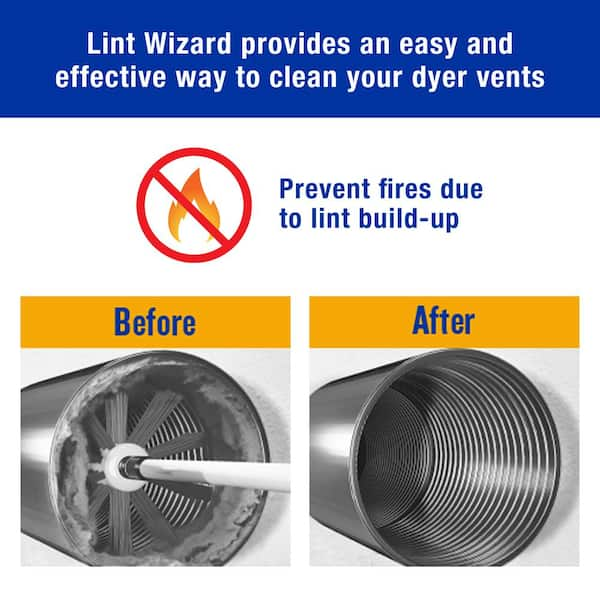
Understanding the significance of cleaning your dryer vent duct cannot be overstated. Over time, lint and debris can accumulate within the **dryer vent**, leading to severe **airflow obstruction**. This not only decreases the efficiency of your dryer, causing longer drying times, but importantly, it also presents a serious **fire hazard**. According to the National Fire Protection Association (NFPA), failing to clean **dryer vents** is one of the leading causes of dryer-related fires. Ensuring that you regularly clean your vent protects not just your home but also your peace of mind.
Signs of Clogged Dryer Vent
Identifying the **signs of a clogged dryer vent** is essential for early intervention. Common indicators include taking longer to dry clothes, a burning smell during operation, and the dryer itself becoming noticeably hotter than usual. Also, you might notice excess lint around the lint trap or the dryer vent’s exterior. If you experience any of these symptoms, it’s important to take action immediately to prevent potential hazards.
Benefits of Regular Dryer Vent Cleaning
The **benefits of cleaning dryer vents** are substantial. Regular cleaning enhances the **efficiency of your dryer**, meaning reduced energy consumption and lower utility bills. It also promotes safer operation, significantly decreasing the risk of dryer fires due to built-up lint. Additionally, a well-maintained dryer vent can extend the lifespan of your appliance, saving you money in the long run on repairs or replacements. Overall, incorporating a cleaning routine into your dryer maintenance is an investment in safety and efficiency.
DIY vs. Professional Dryer Vent Cleaning
When considering **how to clean your dryer vent**, homeowners often weigh the options of DIY or hiring professionals. While **DIY dryer vent cleaning** allows for direct involvement and can save costs, it requires proper tools and methods to be effective. Alternatively, professional dryer vent cleaning offers expertise and thoroughness that can be hard to replicate. For severe obstructions or if you have no prior experience, calling a professional who understands the **dryer vent cleaning process** can be beneficial. An expert can efficiently assess the condition and clean it comprehensively, ensuring maximum safety.
Tools for Effective Dryer Vent Cleaning
Equipping yourself with the right **tools for dryer vent cleaning** is essential for effective results. Basic tools include a **lint removal wand**, a vacuum with a hose attachment, and a dryer vent cleaning brush. Each of these tools plays a crucial role in removing lint and debris. A thorough cleaning usually requires more than one method, which is why having multiple tools on hand is advisable to tackle various types of clogs.
Step-by-Step Dryer Vent Cleaning
A systematic approach can help make the **step-by-step dryer vent cleaning** process more manageable. Start by unplugging your dryer and disconnecting the vent from the dryer. Use a **brush designed for cleaning dryer ducts** to remove lint and debris from both ends of the vent. Then, use the vacuum to clean the area surrounding the exhaust duct and remove any remaining lint. It is often effective to insert the vacuum hose inside the vent to clear further obstructions. After cleaning, ensure to reattach the vent and test the dryer, checking that airflow is unobstructed.
Using a Vacuum for Dryer Vent Cleaning
Vacuuming is a practical method for cleaning your dryer vent. A shop vac, specifically, can efficiently clear **lint buildup** from within the duct. When using a vacuum for dryer vent cleaning, make sure to attach a long hose to reach deep into the vent. Move the vacuum slowly, stopping periodically to ensure thorough removal of lint. This method is especially useful for **preventing lint accumulation** and maintaining open airflow in your dryer vent system.
Best Practices for Dryer Vent Maintenance
Incorporating **dryer vent maintenance tips** into your routine can significantly enhance dryer performance and safety. Schedule a cleaning every 6 to 12 months, depending on usage frequency. Keeping the dryer lint trap visibly clean after each use is also essential in promoting proper airflow and preventing blockages. Additionally, ensure your dryer vent’s installation follows current building codes to promote better air flow and safety. Tight bends or lengthy ducts can hinder performance and increase the chance of clogs—consider consulting an expert if your setup falls within these parameters.
Understanding Airflow Dynamics
Understanding airflow dynamics is crucial in maintaining your dryer vent. **Airflow obstruction in dryer vent** systems can lead to various inefficiencies, including extended drying times or overheating, which again raises the **fire hazard** concern. Regularly checking and clearing your dryer ducts can help maintain optimal airflow, ensuring that your dryer operates as it should. When airflow is unimpeded, drying times are shorter, ultimately increasing **energy efficiency** and improving the overall performance of your laundry appliances.
Choosing the Right Dryer Vent**
Your choice of **dryer vent** can significantly impact your dryer’s safety and efficiency. When selecting the right dryer vent, consider factors such as length, material, and curvature. Each of these can affect airflow dynamics and lint accumulation. Steel ducts are typically the best option due to their durability and lower chances of lint buildup compared to flexible plastic hoses. Make informed decisions during installation or replacement to reduce complications and ensure optimal function over time.
Conclusion
Cleaning your dryer vent duct is an essential aspect of maintaining home safety and dryer efficiency. From understanding the importance of routine maintenance to learning the best practices for cleaning, this guide equips you with everything necessary to keep your dryer running smoothly. Whether you decide on a DIY method or hire a professional to manage your dryer vent cleaning, staying vigilant about your dryer’s maintenance will help prevent lint-related hazards and enhance your dryer’s performance.
FAQ
1. How often should I clean my dryer vent?
It is recommended to clean your **dryer vent** at least once a year. However, depending on usage frequency, some households may need more frequent cleaning—every six months to minimize lint buildup and safety risks.
2. What are the costs associated with professional dryer vent cleaning?
Costs for **professional dryer vent cleaning** services can vary significantly. Typically, they range from $100 to $300, depending on the extent of cleaning required and the complexity of the ductwork. It is advisable to obtain quotes from several service providers to find the best option for your needs.
3. Can I use a regular vacuum for dryer vent cleaning?
Using a regular household vacuum may not provide the necessary suction power to effectively clear lint build-up in your **dryer vent**. A shop vac or a vacuum with specialized attachments is more preferred for this task, especially when aiming for deep cleaning.
4. What tools do I need for DIY dryer vent cleaning?
For DIY **dryer vent cleaning**, essential tools include a vacuum with a hose attachment, a dryer vent brush, a lint removal wand, and potentially a screwdriver for disassembling the duct from the dryer. This combination will enable thorough cleaning of lint from various areas of the vent system.
5. What are the symptoms of a blocked dryer vent?
Symptoms of a **blocked dryer vent** include longer drying times, a burning smell during operation, a hot exterior on the dryer, and visible lint around the dryer area. Recognizing these signs early can prevent larger issues like potential fires.