“`html
How to Effectively Screenshot on Keyboard in 2025: Quick Tips to Optimize Your Workflow
Learning how to screenshot on keyboard is essential for anyone looking to streamline their workflow in 2025. Whether you’re a student working on your assignments or a professional needing quick updates, this guide will equip you with the latest techniques for capturing the screen on your PC and maximizing efficiency through keyboard shortcuts.
Understanding Screenshot Options
Before diving into the practical steps, it’s crucial to understand the different screenshot options available. Each operating system—whether you’re using Windows or Mac—offers various keyboard shortcuts for screenshots that can significantly enhance your productivity. Learning these different methods not only saves time but also increases your capability to share and save crucial information efficiently.
Overview of Screenshot Keyboard Shortcuts
The most widely recognized method for taking screenshots on a laptop is utilizing the keyboard shortcuts. On Windows, you can use the built-in image capture feature by pressing the Print Screen key. In modern operating systems, this triggers a Windows screenshot shortcut that copies the entire screen to your clipboard. For Mac users, the shortcut involves pressing Command (⌘) + Shift + 4, which allows them to select a specific area of the screen to capture.
Using Screenshot Tools for Enhanced Capture
Aside from the basic keyboard print screen functions, various screenshot tools can optimize your experience. One popular option is the Snipping Tool available on Windows, which allows for more precise screenshots by letting users select the area they want to capture. There are also advanced tools like SnagIt or Greenshot that offer editing functionalities post-capture, enabling you to quickly annotate or share your screenshots. Consider exploring these screen capture applications if you wish for additional features beyond the standard screenshot keyboard shortcuts.
Capturing Screens on Different Devices
Understanding that not all devices use the same keyboard commands is vital. Screenshots on tablets or phones often require different gestures or combinations. For instance, capturing an image on an iPad typically involves pressing the power and volume up buttons simultaneously. This adaptability demonstrates how efficient mastery of screenshotting can enhance your digital competence across various platforms.
Fast Screenshot Methods for Efficiency
Speed is crucial when it comes to effective screenshotting. Adopting fast screenshot methods means needing to know all the available keyboard keys to screenshot efficiently. Shortcuts not only save time but also mitigate frustrations during urgent tasks, especially when sharing information or storing it for future reference.
Keyboard Key Combinations for Quick Capture
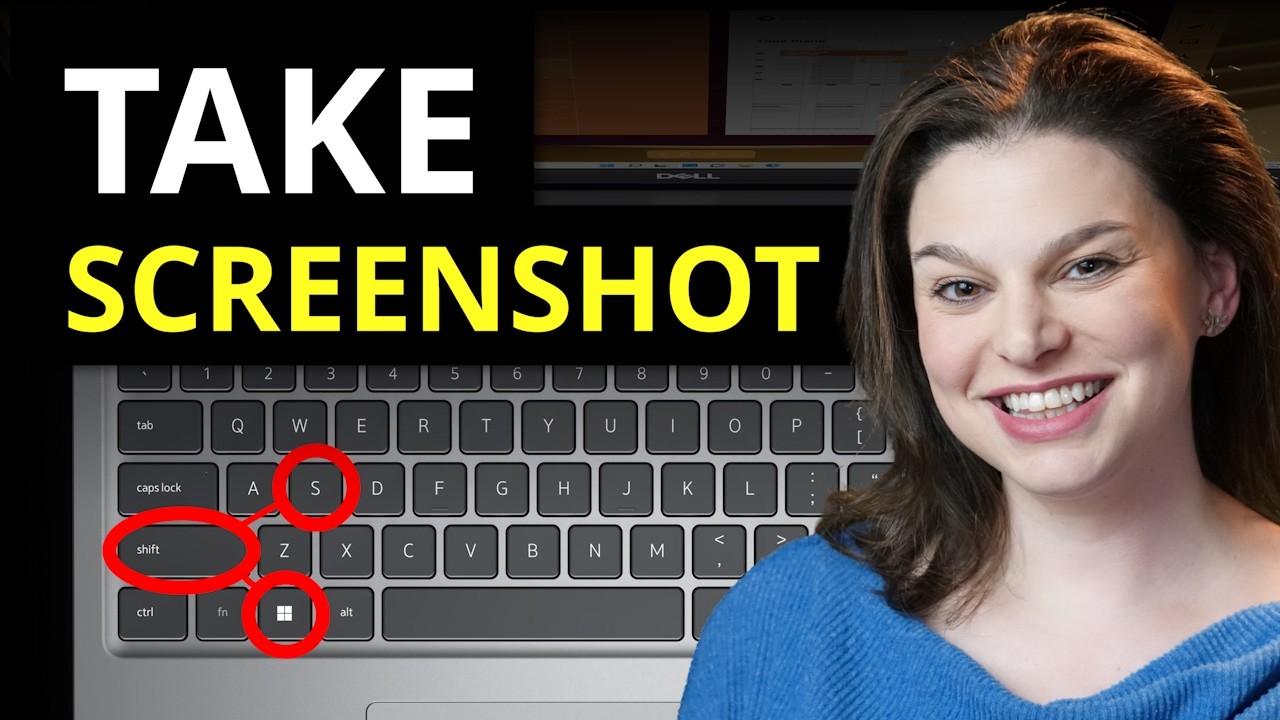
Learning the right keyboard key combinations can make a world of difference. For a quick operation on a Windows machine, pressing Windows + Print Screen saves your screenshot directly to the Pictures folder, under ‘Screenshots.’ Conversely, for Mac users, the combination of Command (⌘) + Shift + 3 allows the full screen to be saved directly to the desktop. This knowledge equips you with efficient tools to save screens as images easily.
Advanced Techniques with Third-Party Applications
In the effort to master screenshot enhancements, consider using more advanced techniques involving third-party applications. **ShareX**, for example, not only enables extensive screenshotting but also provides options to edit, upload, and share images seamlessly. With high-quality screenshot techniques and quick accessibility, tools like ShareX can become invaluable in your daily operations, enabling an effortless approach to capturing screen on PC.
Optimizing Your Screenshots for Better Workflow
Lastly, optimizing your screenshots for both quality and relevance is key to a smooth workflow. Use editing tools to highlight important aspects of your screenshots and ensure that the images are well-framed and devoid of unnecessary content. By streamlining the capturing process into your routine, you enhance collaboration and sharing while fostering an organized digital workspace.
Wrapping Up: Mastering the Art of Screenshotting
As we enter 2025, mastering the skill of how to take a screenshot using your keyboard will only become more essential. By utilizing the various screenshot tools and understanding the best practices, you can make the most out of your digital interactions whether in education or the professional landscape.
Key Takeaways
- Familiarize yourself with essential screenshot keyboard shortcuts.
- Utilize advanced screenshot tools for additional capabilities.
- Enhance your productivity with fast screenshot methods.
- Optimize screenshots for quality and relevance.
- Adapt your screenshot techniques across various devices confidently.
FAQ
1. What are the primary keyboard shortcuts for taking screenshots on Windows?
The primary keyboard shortcuts include Print Screen to capture the entire screen and Alt + Print Screen to capture just the active window. Using Windows + Print Screen automatically saves the image as a file, which is convenient for quick captures.
2. How can I take a screenshot without a keyboard?
If a keyboard option is unavailable, many devices allow touch-based screen capture gestures. For example, on most tablets, pressing specific hardware buttons or using built-in OS functions will provide a capture function. You can also install apps that add functionality for screen capture.
3. What is the Snipping Tool and how can it help me?
The Snipping Tool is a built-in application in Windows that lets you select specific areas to screenshot rather than taking an entire screen image. It offers options like Free-form snip, Rectangular snip, Window snip, and Full-screen snip, improving flexibility over standard screenshotting methods.
4. Are there keyboard shortcuts for taking screenshots on Mac OS?
Yes! Mac users can utilize shortcuts such as Command (⌘) + Shift + 3 to capture the full screen and Command (⌘) + Shift + 4 to capture a selected portion. These shortcuts streamline the process of taking screenshots effectively.
5. How can I edit my screenshots after capturing them?
Once you’ve captured your screenshots, numerous applications, such as Photoshop, Preview (on Mac), or Snagit, allow you to edit images by adding text, highlighting areas, or cropping. By investing in effective editing practices, your screenshots can deliver clearer messages.
“`